建立於: 8年前 ( 更新: 3年前 )
前言
相信Linux使用者,大概都有用過tree這個指令,我們可以透過homebrew來直接安裝tree這個指令,
但是如果我們想自行編譯進行安裝,應該如何做呢?
本文介紹如何在自己的MacOS上自行編譯tree的指令及安裝。
步驟如下
一、首先到如下的網站下載tree的原始檔。
http://mama.indstate.edu/users/ice/tree/
二、下載後可用tar指令進行解壓縮。
tar zxvf tree-2.1.0.tgz
三、 cd tree-2.1.0/ 進入資料夾中。
四、查看安裝說明,在MacOS上我們一樣可以用 cat INSTALL指令查看檔案內容。
Installation instructions:

1. Edit the Makefile for your OS.  Comment out the Linux options and un-comment
   the options for your OS.
2. Type: make
3. Type: make install
4. Enjoy colorful directory trees.

  I cannot test on non-Linux machines, so please feel free to contribute
porting information, bug reports, compile options, patches, etc for porting to
other OS's to ice@mama.indstate.edu.

  I would also welcome any localization efforts, particularly translating the
man page to other languages.  And of course feel free to suggest options and
improvements you would like to see in tree.
五、在第一點的說明中指出,修改Macfile,註解掉Linux defaults的項目部份,並且解除你作業系統的選項。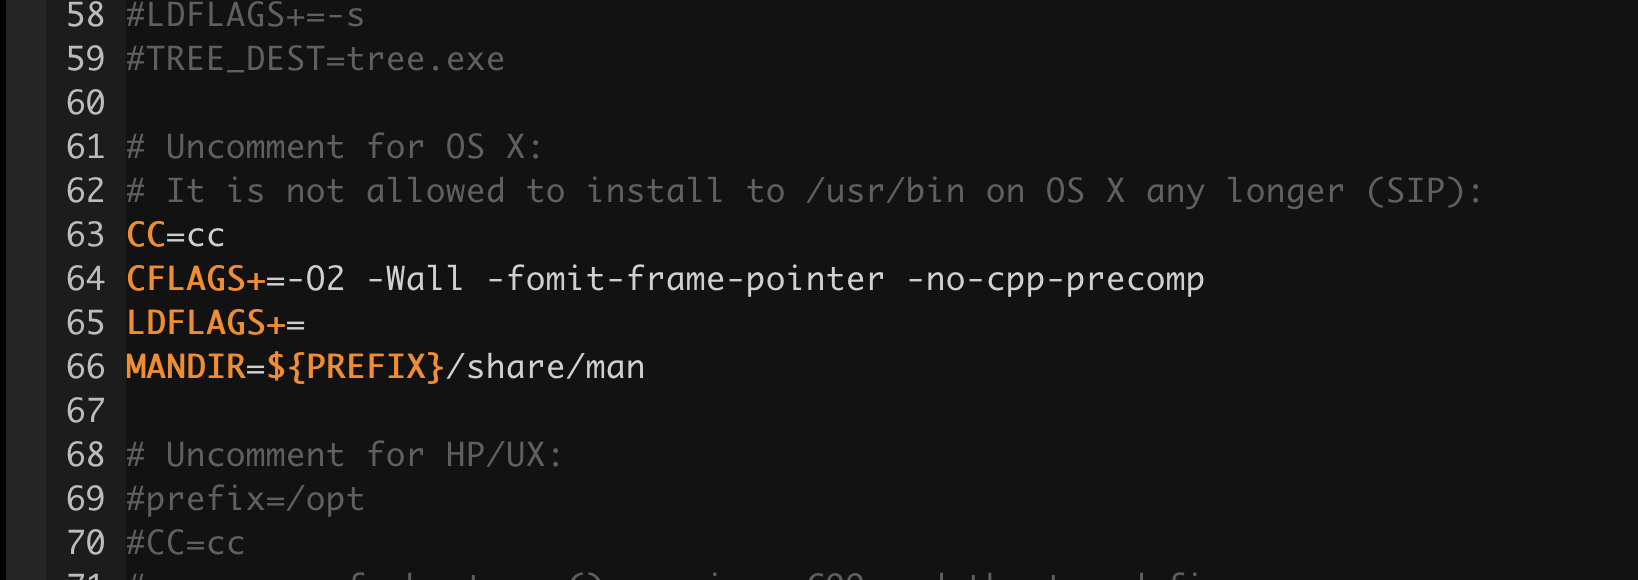
六、執行make,即可進行編譯囉,您的系統應該要安裝XCode。
make
sudo make install
七、由於Mac OS 10.11後有一個rootless的基制,您可以嚐試用sudo make install,如果不行安裝
請參考我的另一篇文章: https://www.ccc.tc/notes/1
或是我們簡單的將編譯好的tree檔拷貝到/usr/local/bin底下即可。
cp tree /usr/local/bin
這樣就完成tree指令的編譯與安裝囉。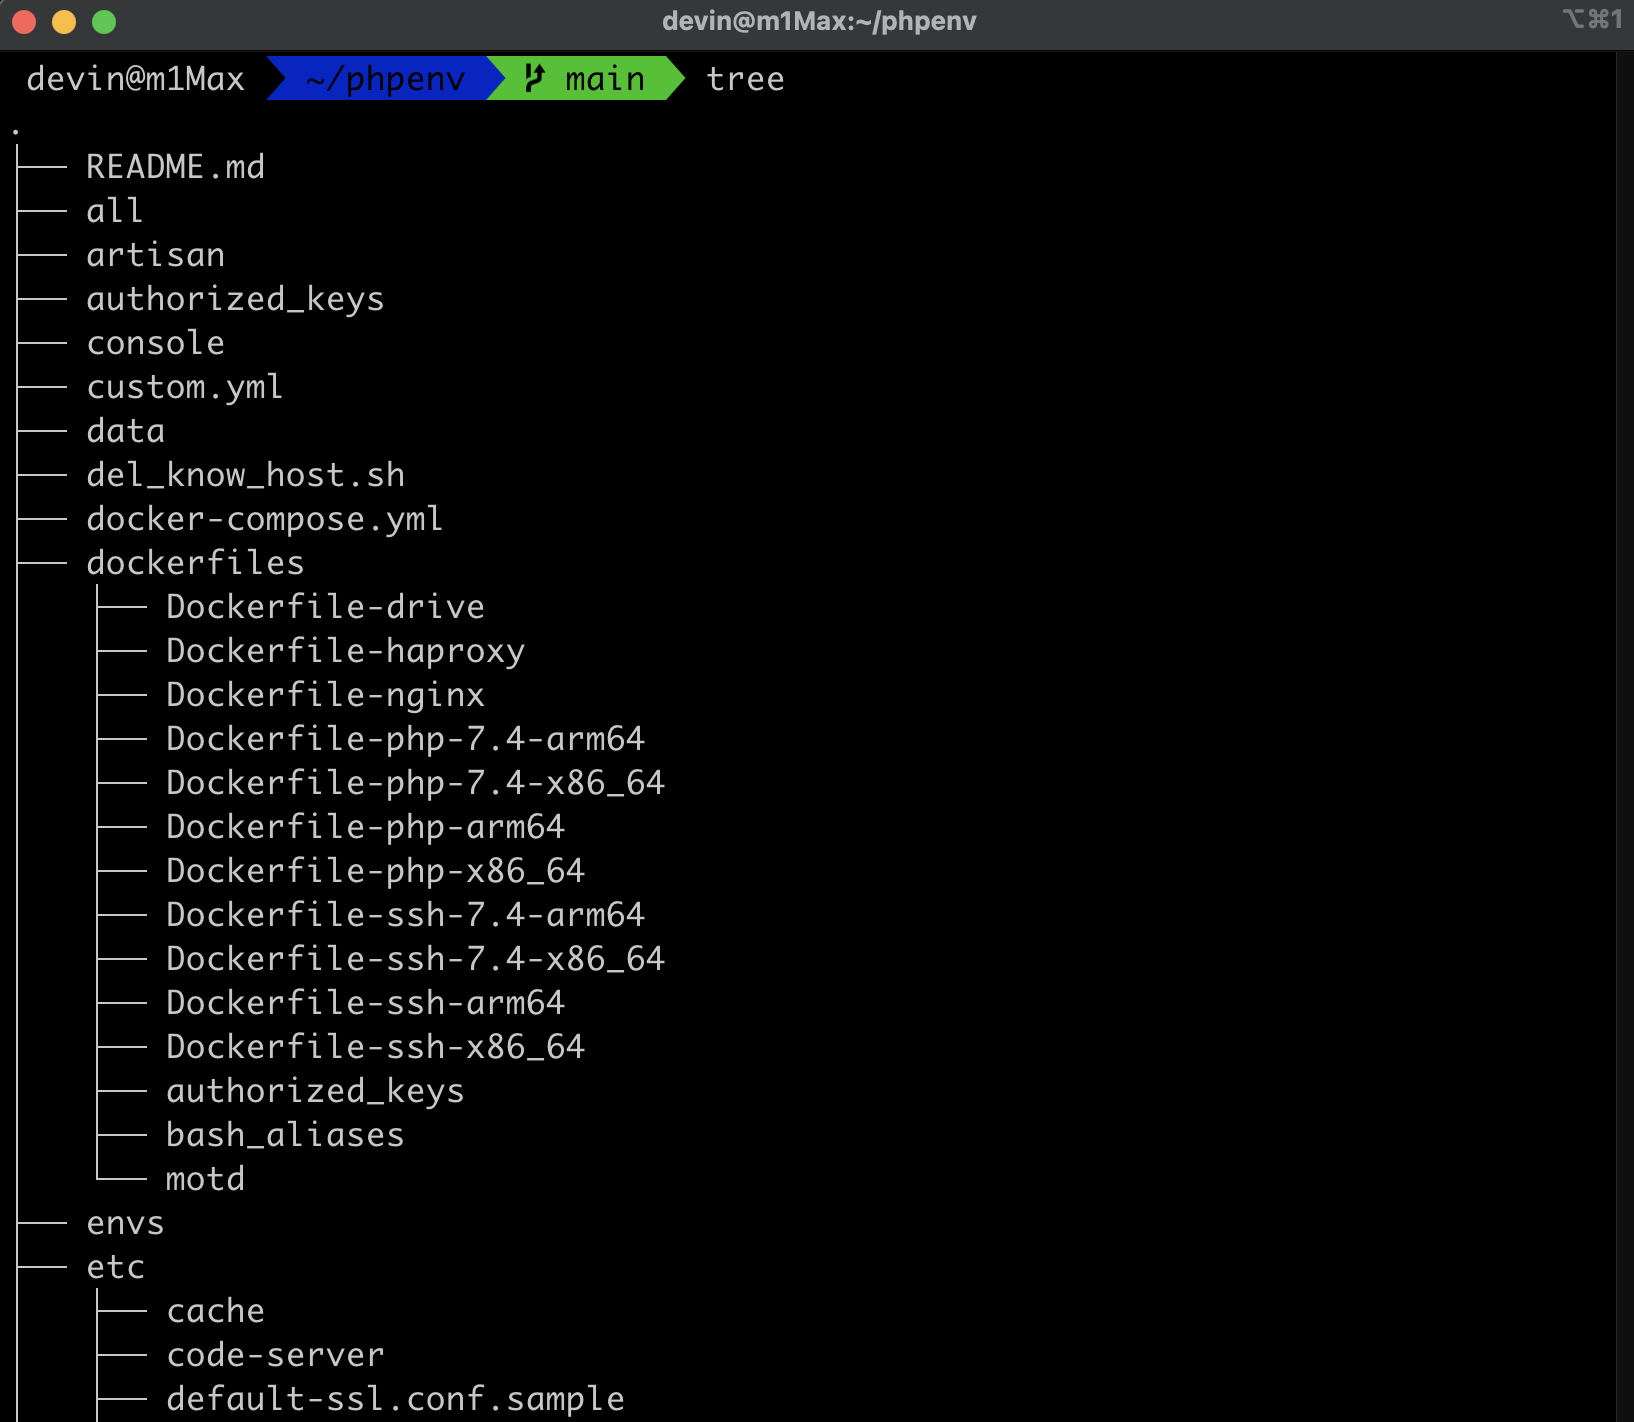


No Comment
Post your comment